Heading Out For Day 1 of Data Collection
We began the morning with an excellent breakfast that Sandy had prepared for us. Honestly, it is so nice (almost extravagant) to wake up and walk into the cook tent to the smell of hot fresh coffee and oatmeal. Momma Sandy, thank you so much for all of your hard work!
We then assembled in the center of base camp to divide up the data collection gear we would bring to the drumlin field and leave there (in waterproof bags and weighted down with large rocks of course) for the remainder of our time here. This way we do not have to haul the tools back and forth each and every day of data collection.
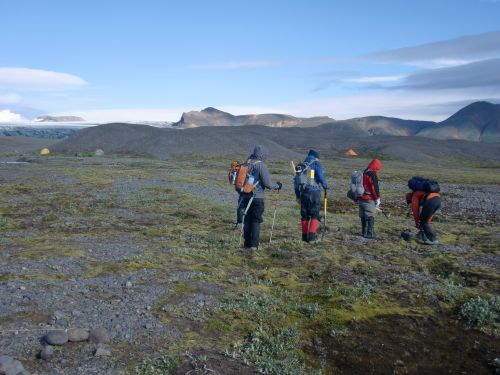
We then departed camp at 9:00am and headed north towards Mulajokull's drumlin field. The hike lasts about an hour or so before reaching our first set of drumlins to test. Along the way, Neal and Tom took advantage of a few great opportunities to teach us about some interesting glacial landforms along the way: bullet boulders, flutes, and freeze/thaw mechanical weather.
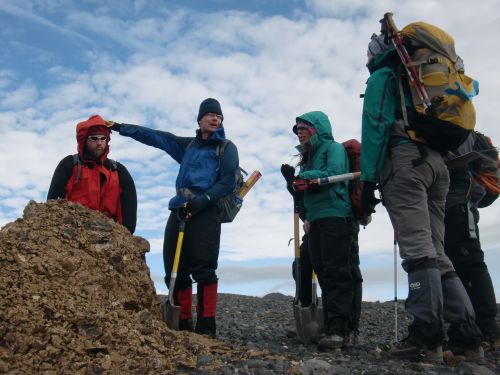
After a few small stream crossings, we traversed a small section of Mulajokull's ice margin in order to avoid a rather large stream crossing before arriving to our drumlin site. I haven't worn my crampons since the summer of 2009 in the Wrangell Mountains of Alaska, and it felt great to feel and hear them crunching and gripping the ice once again. For others in the group, this was the first time trekking on glacial ice, and the smiles could be seen from miles away!
Let's Get Down to Business
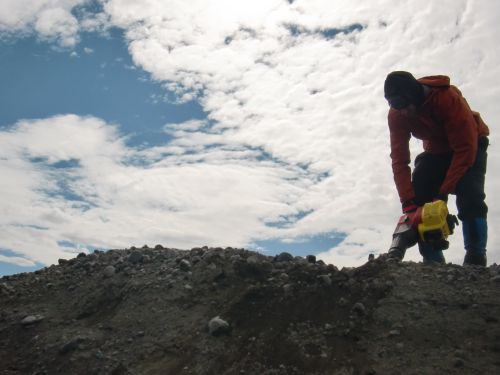
Tom and Neal chose our first drumlin site for sampling till because it has a stream cut through it. Why would that matter? Well, for one simple reason: It means less digging and excavating for us before reaching the layers of precious drumlin till.
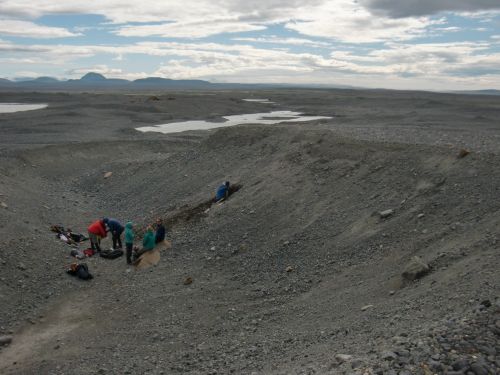
You see, till is a type of sediment that is eroded and deposited by glacial ice in a number of ways. Most till makes its way down the glacier and is deposited at the terminus, or end of the glacier (please refer back to my earlier journal titled Glaciers in A Nutshell, if you need more clarification). Drumlins are composed of this till.
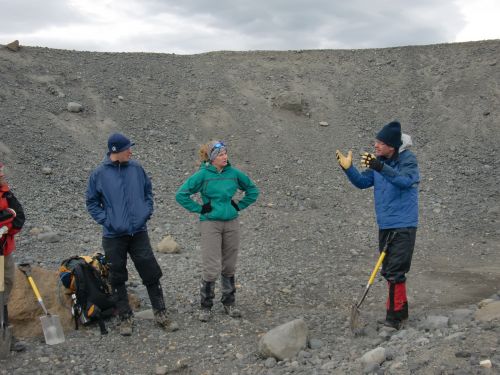
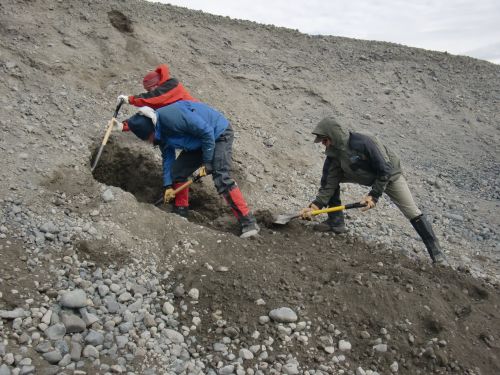
But for sampling, we cannot simply dig into the surface layer of sediment on the drumlins. Why not? Well, there is another type of sediment that is now covering the drumlin till. It is called colluvial sediment, or colluvium, and is a result of mass wasting and weathering events on the surface of the planet. So, even though the drumlins here are relatively young (especially when compared to those in Wisconsin and New York from the Pleistocene Epoch, which are many tens of thousands of years old), colluvial sediments have slowly been accumulating over the last few years and decades on the drumlin surfaces in the stream cut where we need to sample.
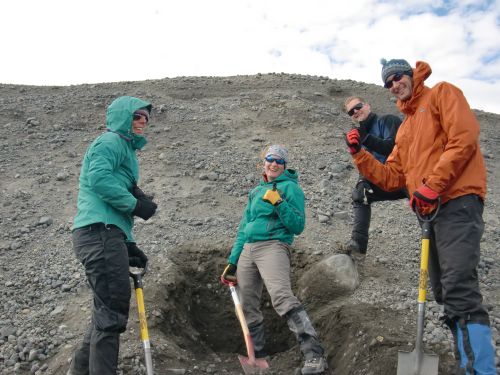
What does that mean for our team? DIG! DIG! DIG! Remove all colluvial sediment to expose the drumlin till!
Three Teams, One Goal
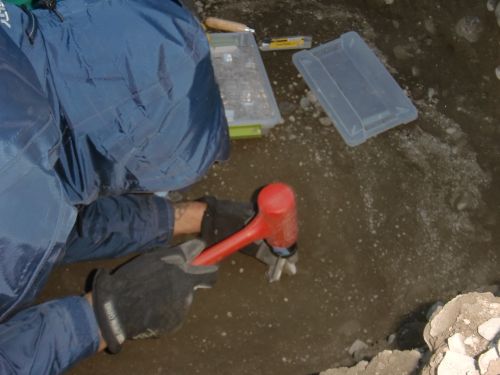
Once the two sampling sites were excavated (named Site 1 and Site 2), Neal and Tom gave us detailed steps and instructions for how to best locate, identify, acquire, remove, and store all of our till samples. As explained in the last journal, each till sample will be run through a series of tests back at U of Iowa and U of Wisc.-Milwaukee in order to:
Decipher the magnetic fabric/orientation of till particles (called AMS, or Anisotropy of Magnetic Susceptibility), and
Determine the total effective stress put upon the till by Mulajokull during its creation of the drumlins (called Consolidation Testing).
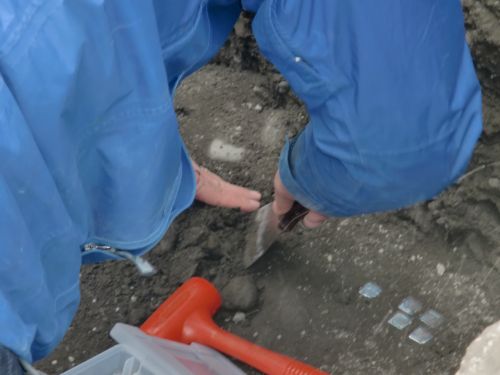
After a few rounds of Q&A during the explanation and modeling of proper data collection methodology for the samples, a team was assigned to each site and began collecting samples. In order for the AMS testing to be statistically significant and effective (as discovered in prior published investigations by Neal and Tom with tills from Wisconsin), 25 samples of till must be properly taken from each site.
The till samples were collected in a truly uncomfortable working environment. High winds were eroding glacial silt and small gravel and blowing it all over our faces, in our mouths, in our eyes, in our noses, in our ears...I think you get the idea. Any skin not covered by clothing was exposed to this fast moving, wind blown sediment and subject to abrasion and scouring. Youch!
Running the RadarA method of estimating the distance or travel speed of an object by bouncing high frequency signals off the object and measuring the reflected signal. and Bearing the Wind
While the till samples were being collected in the stream cut through the middle of the drumlin, Luke and I bundled up and headed to the top of the drumlin to begin collecting radar data using the GPR (ground penetrating radar). Winds at the top of the drumlins were much faster at the top of the drumlins. Luke and I were yelling at the top of our lungs to communicate with one another, and did all that we could to cover up any exposed skin. Thanks to our parka hoods, sunglasses, and healthy beards, the only vulnerable skin exposed on our faces was our nose.
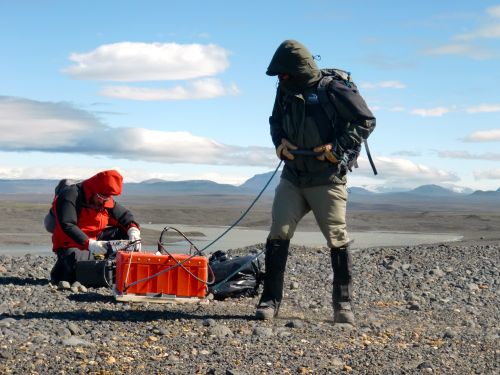
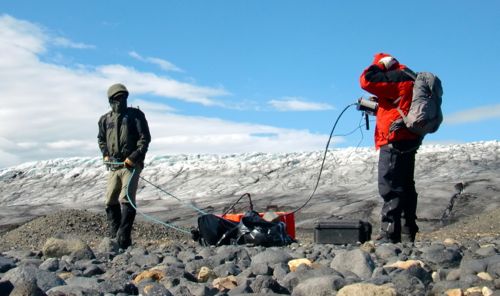
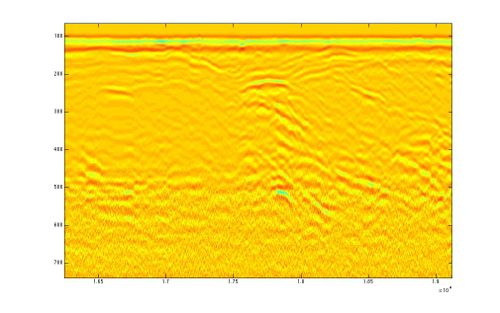
Our goal was to walk a strategic, repeating path that cut across the entire width of and length of the drumlin. Imagine you are in the grocery store: you walk up Aisle 1 to its end, turn left, walk a few steps, turn left again, and head down Aisle 2 in the opposite direction as Aisle 1. At its end, you turn right, walk a few steps, turn right again, and walk down Aisle 3 in the opposite direction as Aisle 2...and so on until you have walked each aisle of the store in this fashion. *That is the pattern Luke and I walked with the GPR to collect data on subsurface till layers all across the drumlin. Thereby giving us a dependable, and wholesome view into the subsurface layers of till below. The GPR recognizes each layer of till down to about 7 or 9 meters in depth.
Heading Back to Camp
After a long day of digging, sampling, digging, removing silt from our nostrils, digging, removing silt from our eyes, sampling, and some more digging, we headed back to our cozy base camp in Mulajokull's forefield.
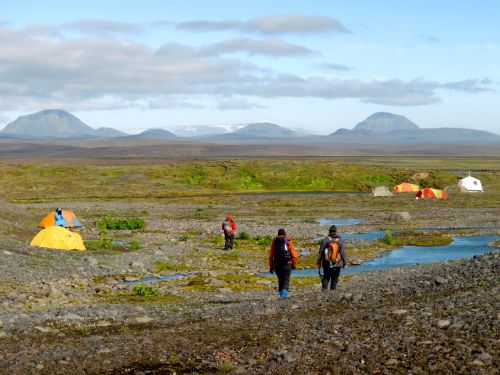
And thanks to Momma Sandy, a nice hot supper of Lamb ribs and Jamaican stew was waiting for us!
I will check back in as soon as I am able with another journal. Don't forget to register for the PolarConnect Event on August 7th!
Cheers!
Jamie


Comments