Underwater with Dr. Stacy Kim
Yesterday, I mentioned that we have been doing a lot of diving over the last week. Many of those dives have focused on helping Dr. Stacy Kim and her work. Stacy has been part of a long term project, looking at how benthic (bottom) communities are different around McMurdo Station. Every year for about a little over a decade, Stacy or a member of her team has been diving at the same sites in 60 feet of water. Some of those sites are close to the human impact zone around McMurdo and a few of those sites are farther away.
At each dive site, Stacy performs four tasks underwater. With multiple divers (Adam and Mike), these tasks can be split up and shared. Here's a look at one of Stacy's typical collection days.
Loading the Down-Line
Stacy's underwater survey requires four pieces of equipment:
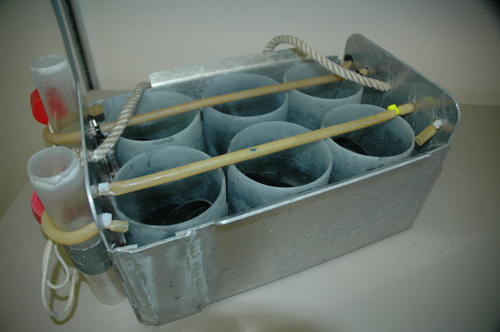
- a coring rack with eight coring tubes,
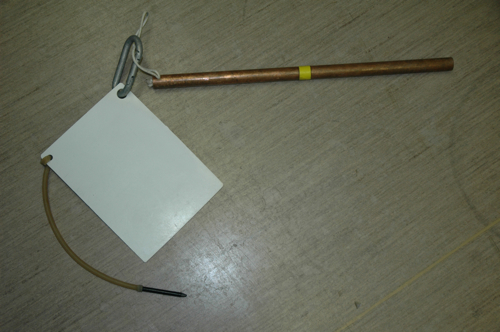
- a 50 cm quadrat stick and underwater slate,
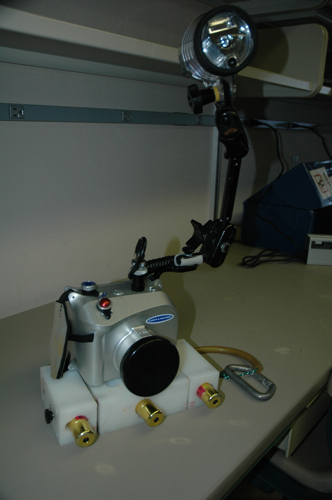
- a still photo camera in an underwater housing, and
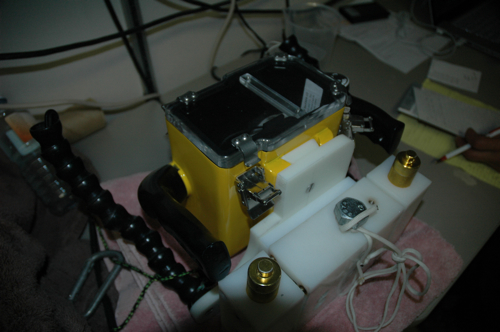
- a video camera in an underwater housing.
Each of these pieces of equipment needs to be prepared for diving. The coring rack needs to have been cleaned and all the cores secured. The cameras need fresh battery charges, as do the lights, and they must be sealed so there are no leaks underwater. (Electronics and water don't mix well according to Rob Robbins, Dive Services Supervisor and a very smart man.)
After all the equipment has been prepared, we need to load it with our dive gear and drive out to the dive site. The first order of business is to attach of the equipment to the down-line. Since we will be working on the bottom, we load the gear toward the bottom of the down-line. On our way to the bottom, we each pick up a piece of equipment to perform our task.
Coring
Probably the hardest part of Stacy's work is the coring. A core is a plastic tube about 4 inches in diameter (10 cm) and about 4 inches long with a mesh at one end and a rubber cover for the other end.
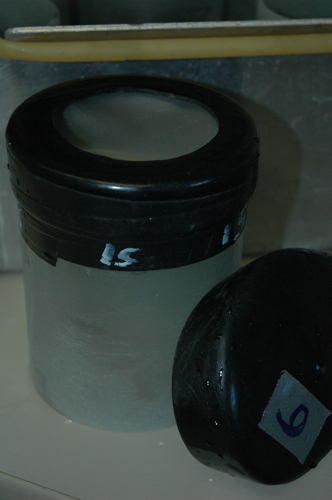
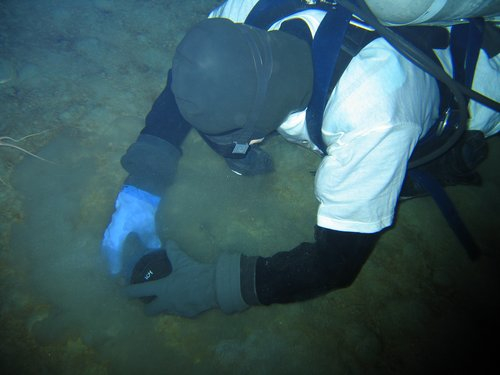
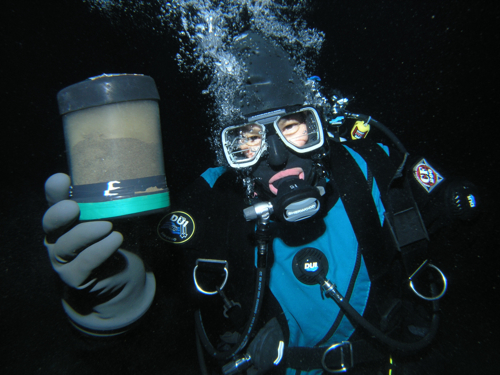
The goal is to push the core into the ground and then to dig out around the tube. Then, the rubber cover can be squeezed down underneath the core and into position. It sounds much easier than it actually is. Remember, you are trying to do this under six feet of ice and 60 feet of really cold water with all of the diving gear on, including those dry gloves. Oh, did I mention that there are six big cores and two small cores to do?
Laternula counts
The second task to be completed is to count the underwater siphons of Antarctic soft shelled clams, Laternula elliptica. Stacy has a 0.25 m2 quadrat that she places down and she looks for the clam siphons sticking up through the surface. She counts the clams in that area. She does this six times for each dive site.
Underwater Still Photos
Stacy's underwater still camera looks like most cameras you might have used except that it is in an underwater housing to keep it dry. There are also three lasers attached to the bottom. These three lasers serve two purposes. First, two of the lasers are a set distance apart. This creates two red dots in every image, and the distance between them is known. This way, you can use this sort of like the scale on a map; only in this case, it can be used to figure out how big organisms are in the photos. The third laser is used to determine the distance off the seafloor. When we take photos, we want to be exactly one meter off the bottom. We take 10 photos at each dive site.
Underwater Video Transects
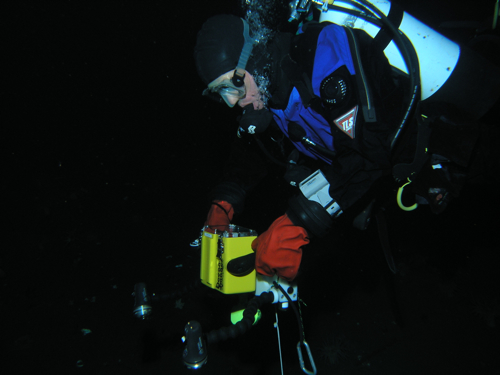
Similar to the underwater still photos, the video camera is used by a diver to capture video imagery of the seafloor. The advantage here is that the video can capture a larger area of the sea floor. The diver swims three 10-meter transects across the bottom with the camera pointed straight down. Just as with the still camera, there are lasers used to judge the size of organisms and to make sure that the diver is exactly one meter off the bottom.
Back at Lab
Of course, once the diving is over, there's still much work to be done. Tomorrow, we'll look at what Stacy and the team have to do after the dive to start working with all the samples and information they collect.


Comments