I thought it might be nice to introduce the people I'm working with while I'm down here. I work with the drillers so I'm going to talk about them first.
The Drill Team
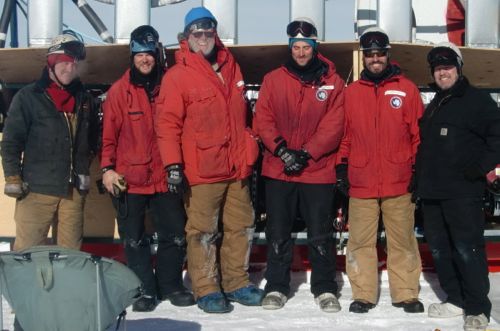
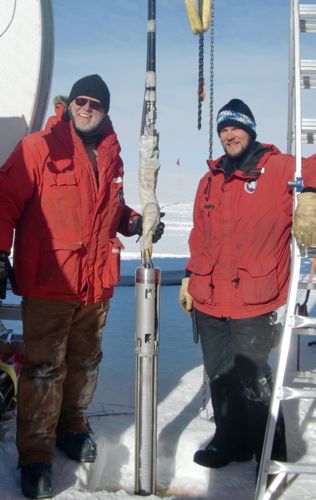
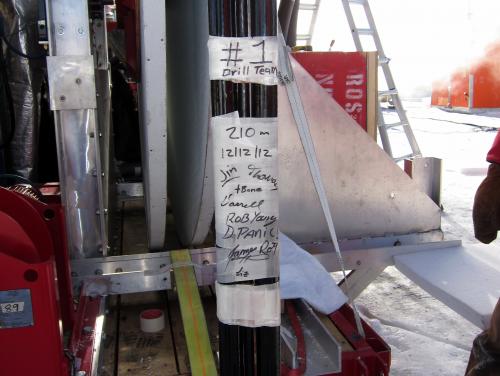
These are the drillers. The operate the drill and make sure each hole meets certain requirements (for ARA, the holes have to have a 6 inch diameter and a depth of 200 m). They have an interesting challenge because this is the first project that's needed dry (as in, not full of water or ice) holes in ice. Some of the drillers worked with IceCube, but those holes were really different. The diameter was bigger, the depth was larger, and the holes were filled with water that eventually froze.
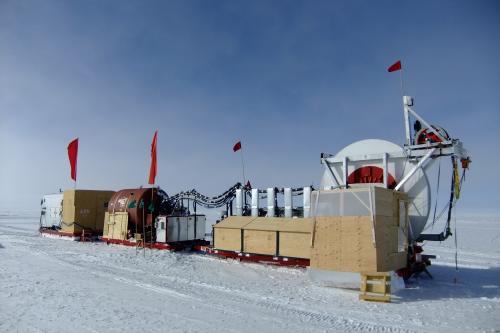
The drill system for ARA works by melting water so, in order to get rid of all that water, the drill also has to have a pump on it. Here's what the drill system looks like:
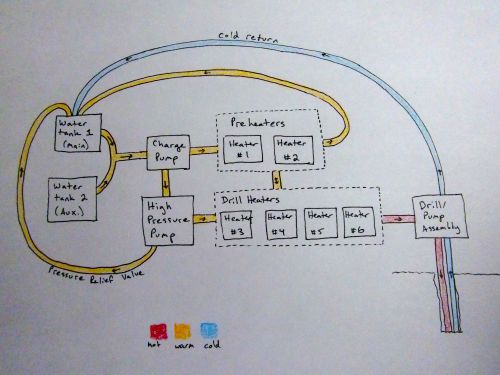
That's a pretty basic diagram but it's got the essential parts. The water starts in a water tank (either the main tank or the auxiliary). So, to explain the next part of the drill, you have to know that the South Pole ice has several layers. The top-most layer is pretty thin and it's the snow layer. Beneath that and until about 40-120 meters down (depending on your definition) is the firn layer. Firn has the consistency of a snow cone. Beneath the firn, there is ice. The deeper you go, the more dense the ice becomes.
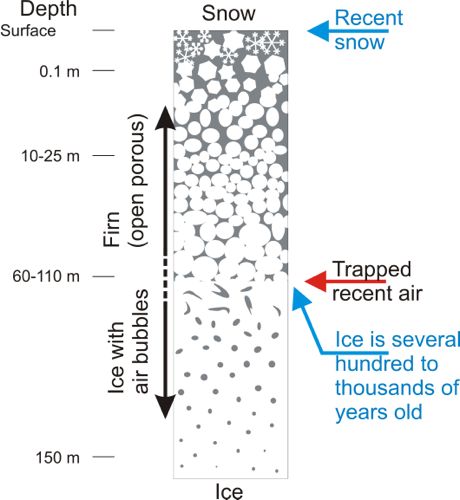
Ok, so what this means is that, as we pump hot water into the firn, it travels outward as well as downward. Most of it goes down and makes a hole but any excess water just travels sideways into the firn. So, until we get through the firn to the ice, there is no water to pump out of the hole which means there's no water to put back into the water tanks. That's why there's an auxiliary tank. In case the water level in the first tank gets too low, we can use the second tank. (Also, the auxiliary tank isn't heated and the main tank is so the second tank could also be used to help lower the temperature of the water going through the system).

The water leaves the tanks and goes through the charge pump. The charge pump pressurizes the water a little and then sends it to two different places: the high-pressure pump or the preheaters.
The water that goes to the preheaters is warmed up by heaters #1 and #2. That water is then recirculated through the main water tank. (So that's how the tank is heated.)
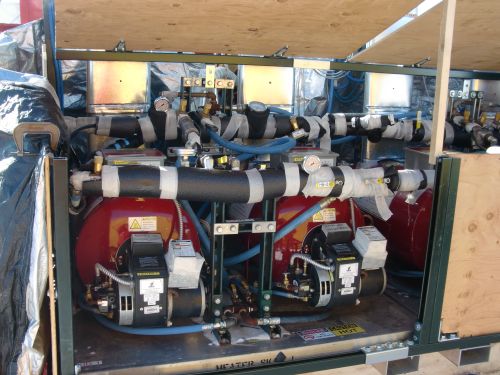
The water that goes through the high-pressure pump gets pressurized more. (The charge pump usually runs at around 40 psi and the high-pressure pump is more like 600 psi). The water leaves the high-pressure pump in one of two ways. Either, it goes through the pressure-relief valve (if there's too much pressure) and back to the main water tank or it goes to the four drill heaters (heaters #3 - #6). There, the water is heated up more so that it's good for melting ice because after it leaves the heaters, it goes to the drill.

Now, once the water goes through the drill, it depends on what part of the ice we're in. If it's in the firn layer, the water just goes out of the drill. If we're farther down and actually in ice, the water will start to pool in the hole above the drill head. Once there is 2 m of water about the drill, the return pump starts pumping the water out of the hole. The water is cool at that point and just goes back into the main (or auxiliary) water tank.
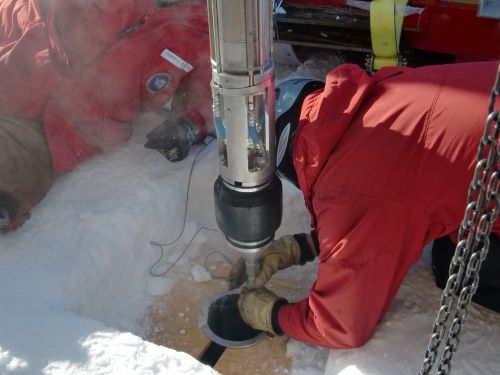
Here's what the actual drill looks like. Notice that it's got three cables coming out of it. The outer two are hoses for the water and the one in the middle is a power cable. Generally, warm water goes down one hose to drill a hole and cold water is pumped up the other hose to go back to the water tanks.
The drill crew controls the temperature of the water in the preheaters, the drill heaters, and the water tank. They also control the pressure coming out of the pumps and heaters (and thus the drill). To keep track of everything, they've got a box called the DCC that has all of the important numbers displayed:
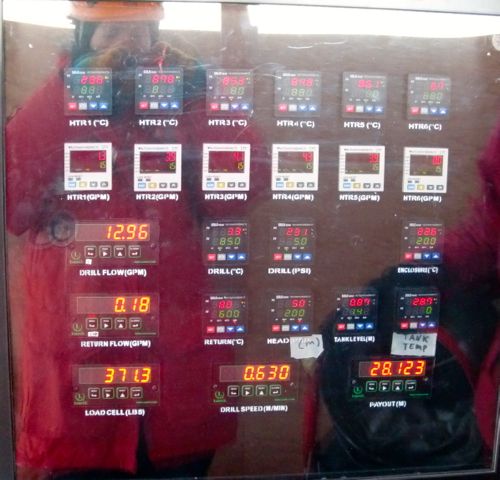
On the DCC, you can see the readouts for the heater temperatures and flows (i.e. how much water is going through each heater). Below that, there are displays for the drill temperature, pressure, and speed. The drill speed shows how deep of a hole we're making in terms of meters per minute. You can also see readouts for the return flow (the amount of water being pumped out of the hole), the head level (how much water is in the hole above the drill), and the return temperature. On the right side, there are displays for the water tank level and temperature (both of those refer to the main tank, not the auxiliary one). The enclosure temperature just tells how warm it is inside the DCC. The load cell and payout are very important. The payout tells us how many meters deep our hole is. The load cell tells how much weight is being put on the cables as the drill is moving through the hole. The load increases as the drill moves farther down the hole. However, if the drill goes too fast, it might not melt the ice and then, instead of the drill hanging off the end of the cable, it'll start to rest on the ice which lowers the load that we see. If the drill starts to rest on the ice, the hole could start to be crooked because now we don't have gravity pulling the drill straight down. Crooked holes are really bad because the antennas might not be able to make the turns and, really, they're supposed to be hanging straight down, not going around corners. Any turns in a hole could cause things (like the drill) to get stuck.

So, the person driving the drill has to keep all of that in mind. The only thing you can actually control from in front of this control panel is the drill speed so it's really important to know how it relates to everything else that's being displayed. To help figure out what speed to go, we have two reference guides: a "roadmap" of the hole drilling process that gives us guidelines and a chart telling what drill speed we need in order to make a certain diameter hole.
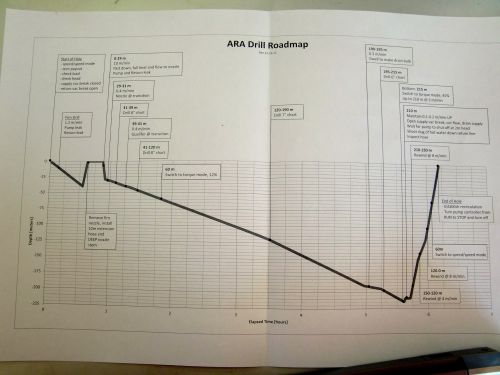
Right now, it takes about 8 or 9 hours to drill a hole. We usually start drilling around 10 am and finish around 7 pm. The whole time we're drilling, someone needs to be driving (i.e. controlling the drill speed) and people need to be controlling the heaters and pumps, as well as managing any other problems that might arise (like, if a heater shuts itself off for some reason). It seems like we've always got about 4 people working the drill at one time.
The Deployers and Physicists

These are some the people responsible for deploying the antennas down each hole. Either the deployers or the drillers qualify the holes, which means that they check that the holes meet the requirements so that the antennas will fit. Qualifying is done by putting a 6" disk or cylinder down the hole and making sure it doesn't get stuck. They also test the antennas and connect the wiring so that they can get data from each antenna.
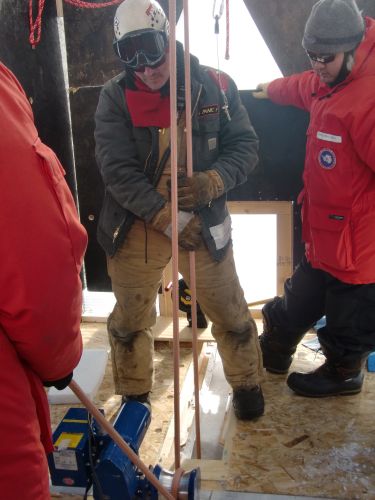

The physicists the ones responsible for the ARA experiment. They designed the experiment and will ultimately figure out what the data means. They're the whole reason we're down here.


Comments